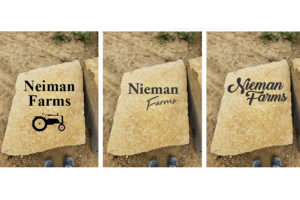
1. Stone Design
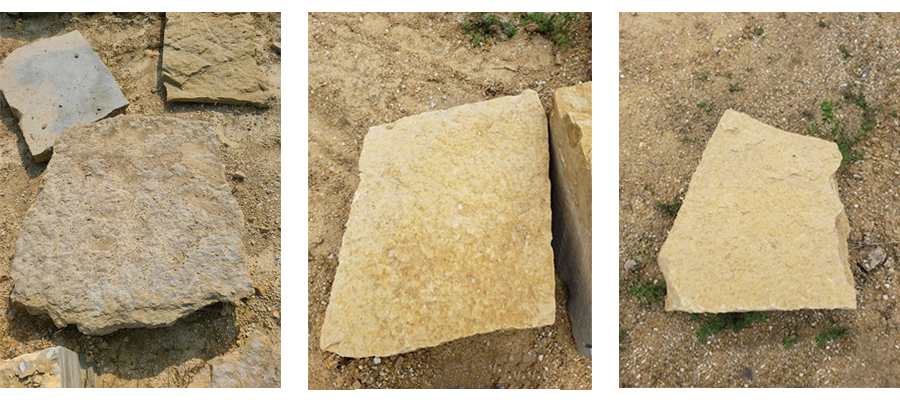
2. Stone Selection
3. Pricing & Payment
4. Pickup & Delivery
5. Installation
- Above ground
- Lean sign against another stone or immovable object making sure the stone is secure and not at risk of falling.
- In-ground
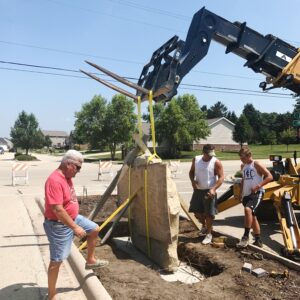
- Dig a hole 8” – 12” deep and approximately 8” – 12” wider and longer on each end/side of stone.
- Fill hole with 3” – 4” of roadstone to make a base (do not put loose dirt back in the hole).
- Set stone in hole on top of roadstone base or on top of bricks placed on top of roadstone.
- Bricks/Blocks allow concrete to work under the stone.
- Brace the stone ensuring it is level and not leaning.
- Pour premixed concrete or bag concrete in the hole (bag concrete can be put in dry and then mixed with water in the hole.
- Once concrete has hardened, dirt can be placed on top of the concrete and leveled.
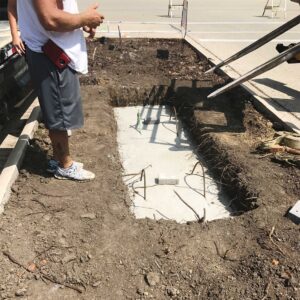
- On concrete slab
- Pour slab based on recommendations by a professional installer. Steel dowels can be inserted in to concrete and stone to keep it upright and stable.
- It is strongly recommended that this type of installation be done by a professional with experience setting stone signs. (Fischer Stone does not offer stone installation).
- Larger stone signs (greater than 1 1⁄2 tons)
- Fischer Stone recommends all stones over 3,000lbs have installation plans approved by a landscape engineer and actual installation completed by a hardscapes professional.
*** The installation recommendations above are only intended to be a helpful reference. In know way, does Fischer Stone, Inc. accept any responsibility with regards to handling, placement or installation of stone signs. It is our recommendation, that all stones be installed by a service professional with the proper equipment and experience.
6. Sign Care
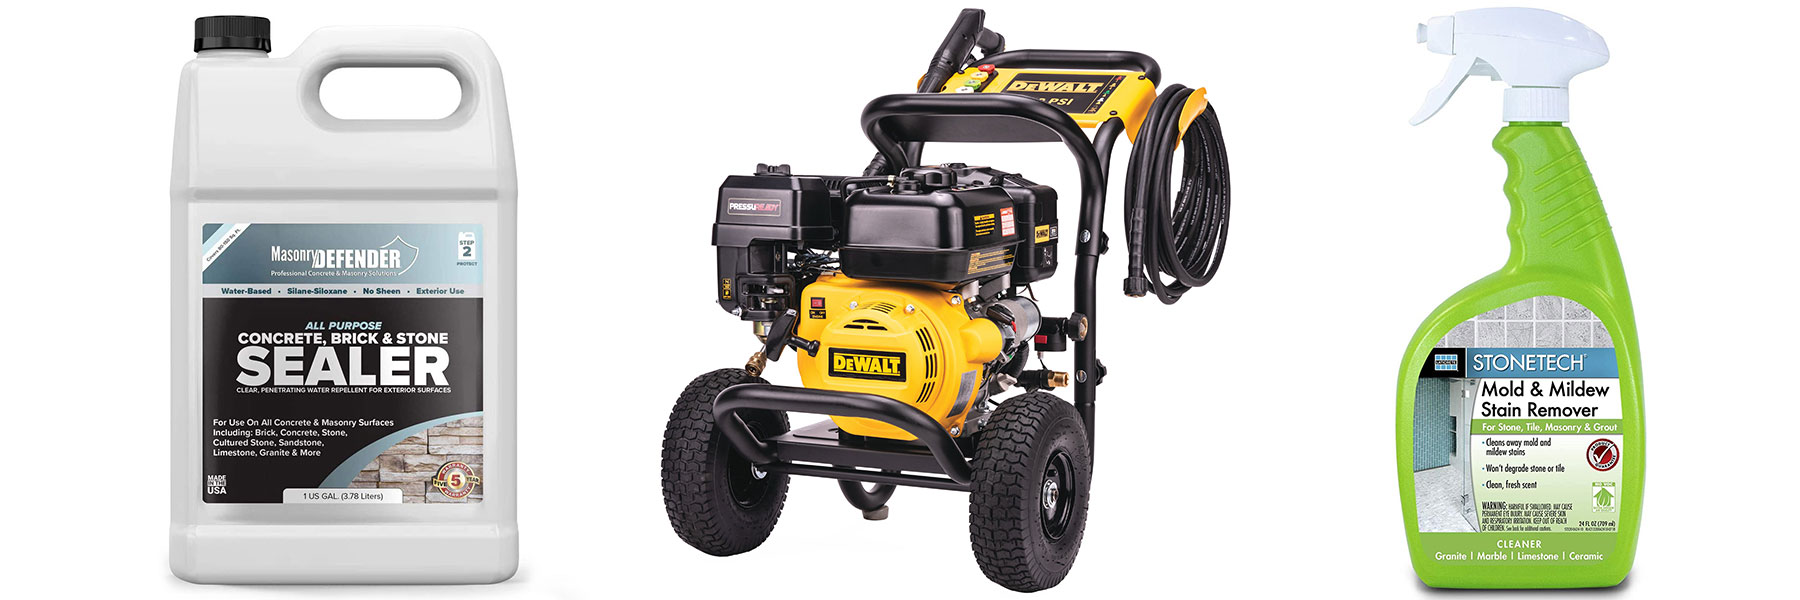
7. Warranty
